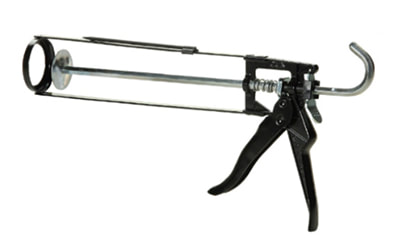
 Often times people wonder what the difference is between caulk and sealant. In short, caulk has less movement capabilities and is not as well performing as sealant. There is a time and place for both caulk and sealant, but first the following steps need to be met. PreparationIn order to properly “caulk” or “seal” an area, the first thing you need to do is prepare the joint or crack that you will be applying your sealant into. First, ensure that there is no lose debris or dirt where you will be putting the product. If the crack or joint is dirty, use a wire brush or some form a bristle brush/broom to loosen up the dirt and debris and then blow or vacuum out the loose particles. You should double check to ensure the joint is free of moisture and frost Lastly, you want to make sure the area you're caulking is not too deep. Recommended joint design is no more than ½” depth. In order to achieve no more than ½” depth on your joint, you may need to insert backer rod to act as a “filler”. Backer rod provides many other benefits such as preventing three-sided adhesion and use of excess product. InstallationAs you start to gun or caulk the product into your joint, make sure you're applying enough back pressure to the material as opposed to pulling or stretching the material which can cause voids in the cured product. Don't forget to take into consideration the weather conditions, it's crucial the product stays dry long enough to skim over – generally 6-12 hours.
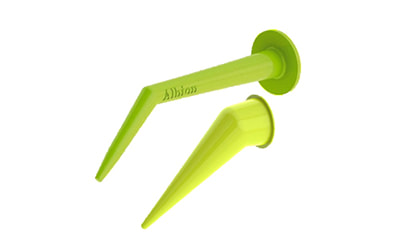
FinishingAfter the caulk is installed in the joint, you want to “tool” the product to ensure sound adhesion of the material into the substrate. There are many ways to “tool” the product, such as using a caulking applicator tool, the tip of a spoon, or most simply your finger (not recommended by manufactures due to potential for contaminants). The main purpose for tooling the caulk/sealant is because you will eliminate any voids in the material that may have been caused by either the joint design or poor installation techniques as mention above.
2 Comments
9/30/2020 06:31:02 pm
Thanks for explaining how 6-12 hours is the time that it takes for the caulk to dry and making sure that there isn't any loose debris that could be really useful and ensure that it is a lot safer. My sister has been having a lot of problems with her windows and doors because they are letting a lot of air in. She would really like to get some help from a professional so that it will work a lot better and it can be more contained and it can be a lot safer. 10/6/2021 09:21:11 am
It is better to have knowledge of the basics of caulking and how they are used. Furthermore, it is also mentioned what sealants are and their use is—people are confused about what feels relaxed now with this info. Leave a Reply. |

Offering quality tools and equipment at low prices for both the professional & homeowner.
POPULAR POSTS
What is Fall Protection and Why is it so Important?Installing a Subway Tile Kitchen BacksplashBasics of Caulk: Preparing, Installing, and Finishing.
Categories
All
Archives
July 2018
|


 RSS Feed


