|
3M DBI-SALA® Safe Bucket video provides a visual demonstration of the features and benefits of this product. Every 3M™ DBI-SALA® Safe Bucket is manufactured with either a hook and loop or drawstring closure system which helps prevent accidental drops.
0 Comments
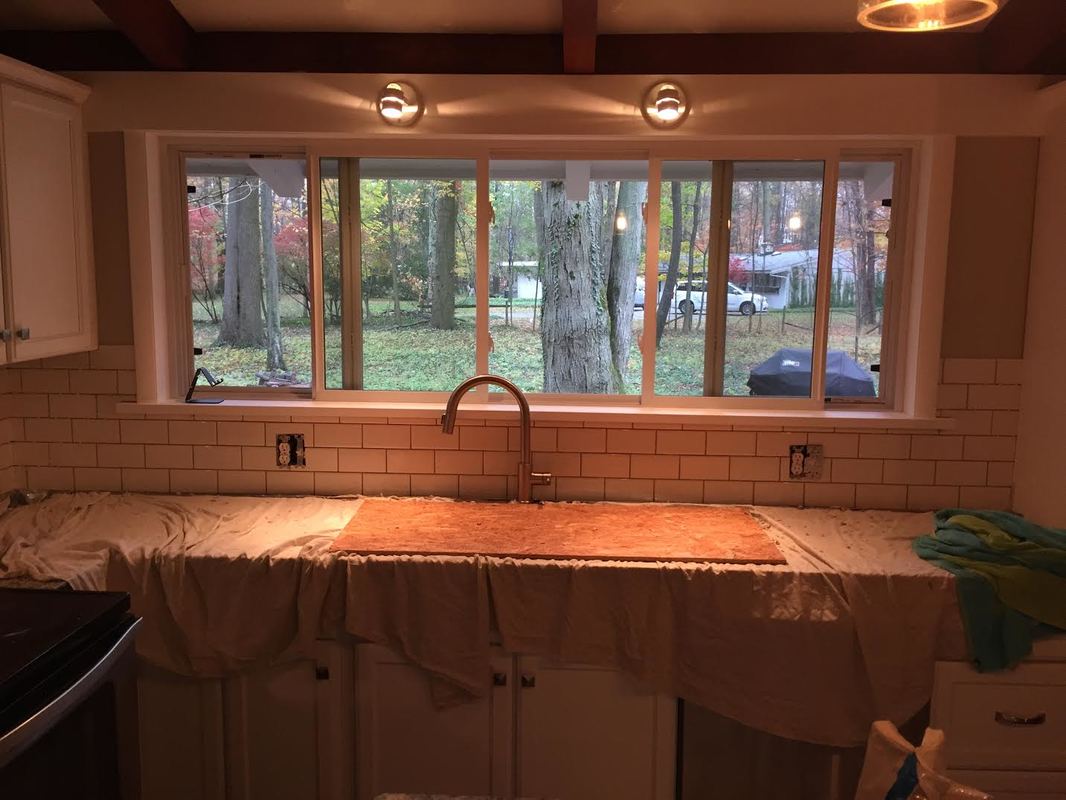
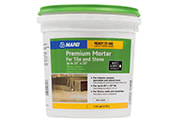
One of the last things left in our kitchen remodel was tiling the backsplash, and instead of having a general contractor take care of it, we decided to watch some YouTube videos and do it ourselves. 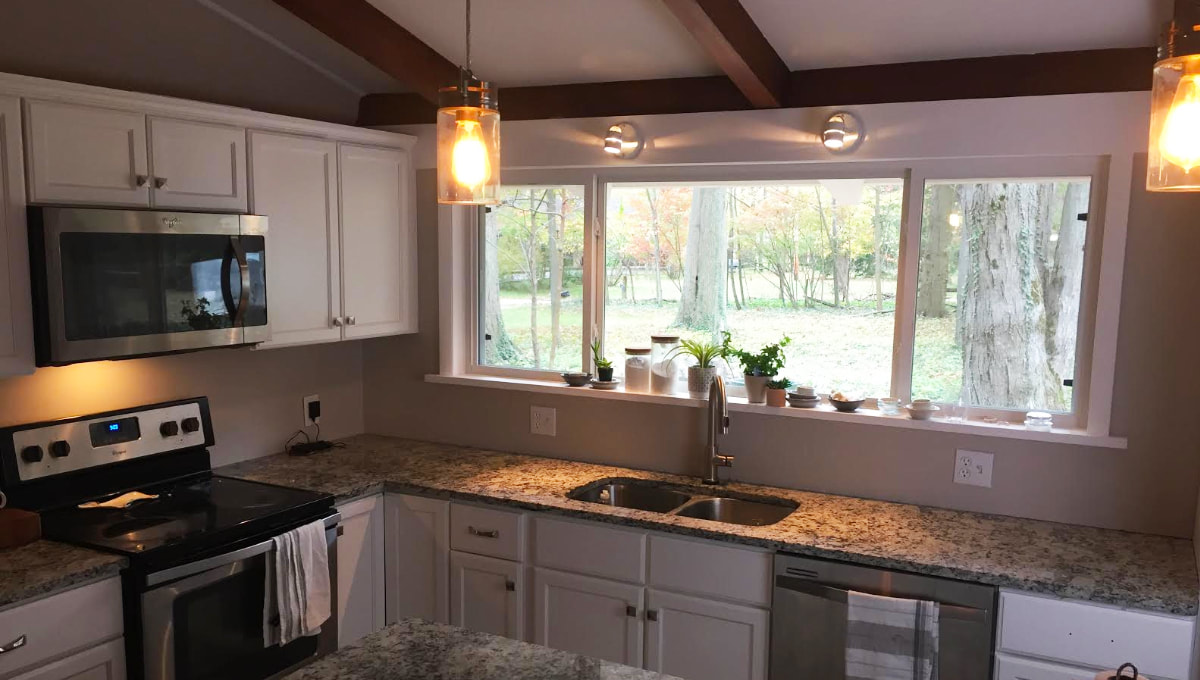 1. Preparing the Surface and Acquiring MaterialsWe wanted to protect all our new cabinets, countertops, and appliances, so we simply covered everything with an old sheet and taped it all off, but left less than half an inch where the tile would meet the countertop - we didn't want the mortar, grout, and tile to dry on top of the tape, then when we went to pull it off, it would effect the tile placement. Next, we removed all light plates and made sure there wasn't anything on the drywall's surface and that it was smooth. Measure out the total sq ft you intend to tile, this way you can know how many tiles and material you'll need. We purchased the following items...
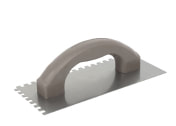
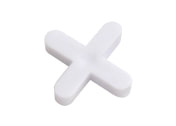
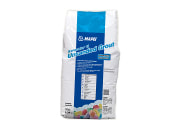
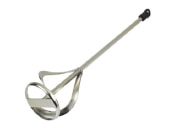
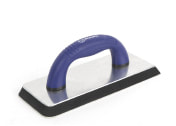
 3. Applying the GroutOnce everything is dried - typically takes 24hrs, remove the spacers and you're ready to apply the grout. Simply empty the grout into a bucket with the instructed amount of water, then use your Grout Mixer and power drill to stir it all together. Next, take your Grout Float and generously apply the grout over all the tiles, with a focus on getting it in the cracks and continually wiping away the excess on the surface of the tiles. It's okay if the tiles look all messy, especially if you're using a dark colored grout. After you work your way across the tiles, where you initially started should be dried and ready to be wiped off with your Grout Float. 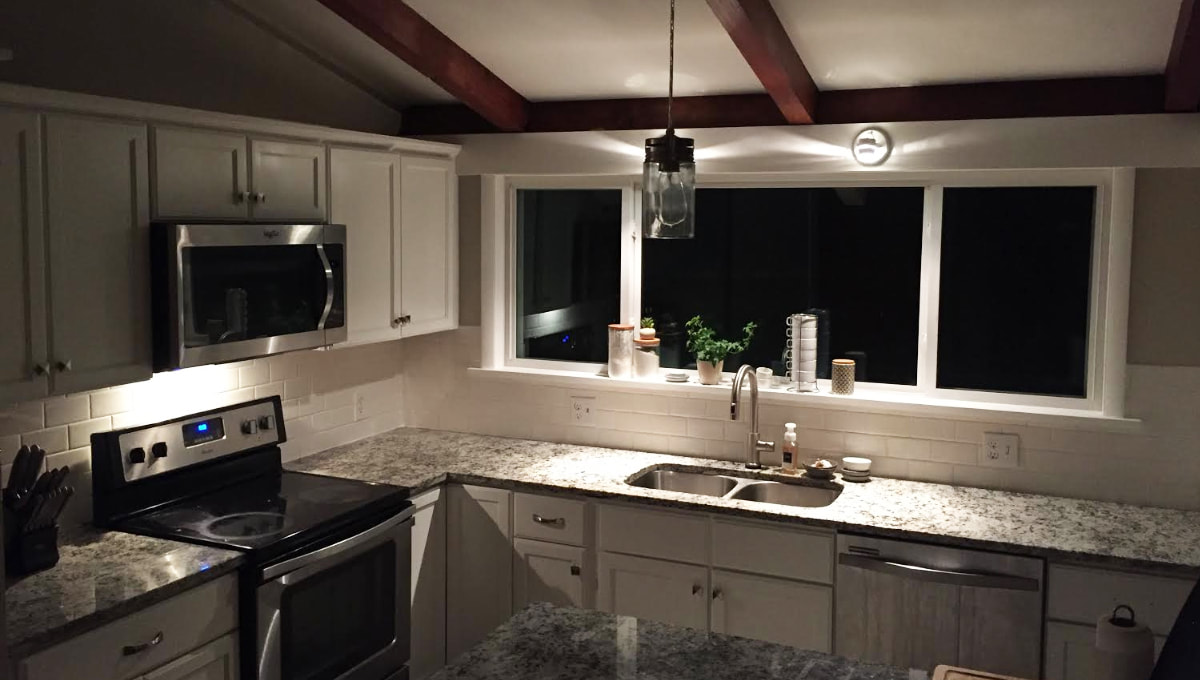 Written by: Bryant H - Guest Blogger
|

Offering quality tools and equipment at low prices for both the professional & homeowner.
POPULAR POSTS
What is Fall Protection and Why is it so Important?Installing a Subway Tile Kitchen BacksplashBasics of Caulk: Preparing, Installing, and Finishing.
Categories
All
Archives
July 2018
|


 RSS Feed


