All Construction Supply
  • By Category
    • Sealant & Caulking
    • Power Tools
    • Safety Equipment
    • Drill Bits
    • Concrete Anchors
    • Concrete & Masonry
    • Extension Cords
    • Tapes & Adhesives
    • Ladders
    • Savings & Deals
  • By Brand
    • Metabo Power Tools
    • 3M
    • Kraft Tool
    • Dow
    • Tremco
    • Albion
    • EVCO
    • Cox
  • Sale Items
  • Support

Cone and Bent Nozzles Explained

7/10/2018

0 Comments

 
Picture
Lorem ipsum dolor sit amet, consectetur adipiscing elit, sed do eiusmod tempor incididunt ut labore et dolore magna aliqua. Ut enim ad minim veniam, quis nostrud exercitation ullamco laboris nisi ut aliquip ex ea commodo consequat. Duis aute irure dolor in reprehenderit in voluptate velit esse cillum dolore eu fugiat nulla pariatur.
Picture

Albion 235-3

Cone nozzle that's designed to be used on tough surfaces such as concrete, brick, or block. The cone's plastic (HDPE) will also not scratch any glass or metal.
AS LOW AS - $0.68
Shop Now
Picture

Cox 2N1006

Cone nozzle with a wide base that's designed for sausage caulking applications where wide beads of material are needed.
AS LOW AS - $0.69
Shop Now
Picture

Cox 2N1007

Clip-on sachet nozzle that is used to produce thin (3mm to 13mm) beads of caulking material. Fitted directly under front cap of Cox branded sausage guns.
AS LOW AS - $0.56​
Shop Now
Picture

Albion 935-4

Nozzle is bent at a 45 degree angle, giving you the ability to reach around corners and tight spaces. Fits B-Line sausage guns with the black plastic front cap on it..
AS LOW AS - $1.56
Shop Now
Picture

Albion 935-3

Nozzle is bent at a 45 degree angle, giving you the ability to reach around corners and tight spaces. Don't put a stress on your body by having to hold your caulk gun at awkward angles.
AS LOW AS - $1.56
Shop Now
Picture

Albion 935-1

This angle shot nozzle is perfect for hard to reach situations and areas. It extends any plastic cartridge nozzle and can also fit inside the Albion's Orange Cone Nozzle 235-3.
AS LOW AS - $1.70
Shop Now
0 Comments

Fall Protection for Your Tools (Video)

11/14/2017

0 Comments

 
3M DBI-SALA® Safe Bucket video provides a visual demonstration of the features and benefits of this product. Every 3M™ DBI-SALA® Safe Bucket is manufactured with either a hook and loop or drawstring closure system which helps prevent accidental drops.
Video Source
Picture
Safe Bucket 250lb
Picture
Small Parts Pouch
0 Comments

Installing a Subway Tile Kitchen Backsplash

11/6/2017

1 Comment

 
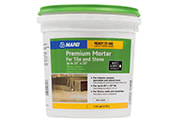
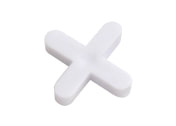
One of the last things left in our kitchen remodel was tiling the backsplash, and instead of having a general contractor take care of it, we decided to watch some YouTube videos and do it ourselves.
Picture

1. Preparing the Surface and Acquiring Materials

We wanted to protect all our new cabinets, countertops, and appliances, so we simply covered everything with an old sheet and taped it all off, but left less than half an inch where the tile would meet the countertop - we didn't want the mortar, grout, and tile to dry on top of the tape, then when we went to pull it off, it would effect the tile placement. Next, we removed all light plates and made sure there wasn't anything on the drywall's surface and that it was smooth.

Measure out the total sq ft you intend to tile, this way you can know how many tiles and material you'll need. We purchased the following items...
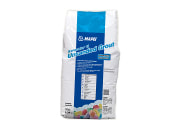
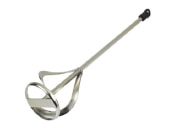
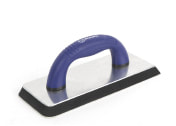
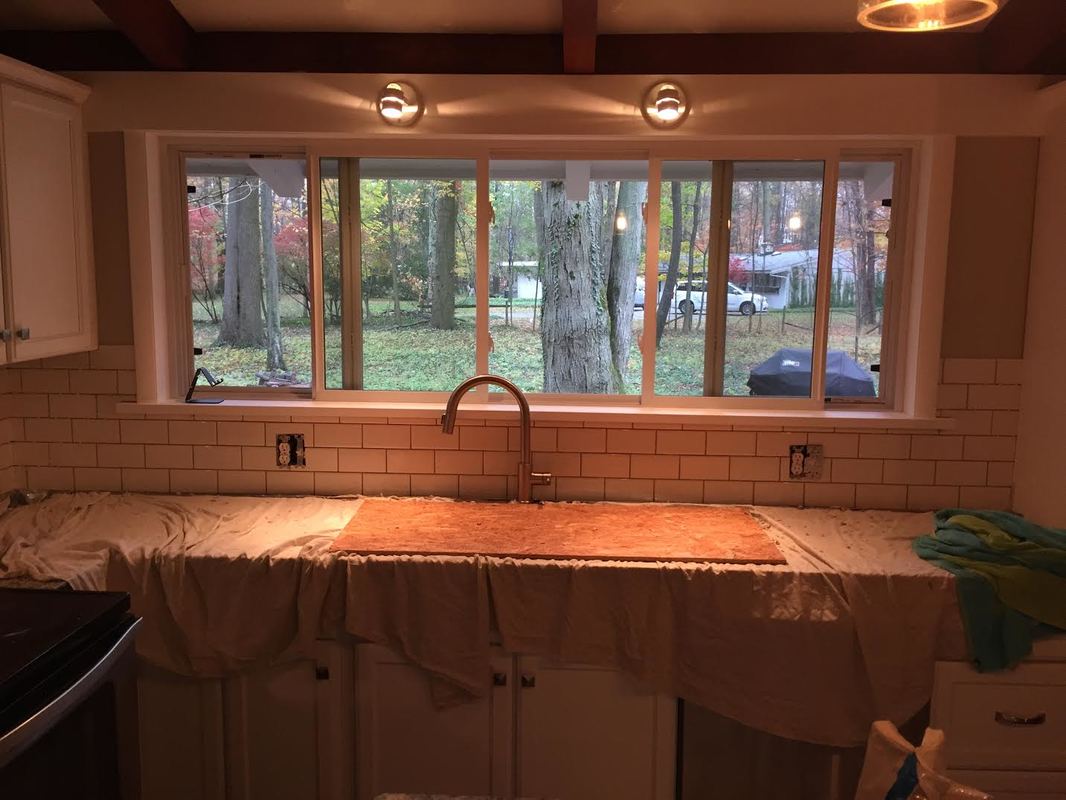
Picture
Subway Tile
White - 3" x 6". Suggest purchasing more than less. You'll lose a lot cutting.
.22c per tile - 200 total
Picture
Notched Trowel
If you have tight/awkward spaces to do, definitely use a smaller trowel size.
$2.79 - Shop
Picture
Mortar
Spent a couple more dollars to get the 'premium' mortar, but worked great.
$21.77 - Shop
Picture
Spacers
We wanted our grout lines to be visible, so we used 1/8" small pacesetters.
$1.98 - Shop
Picture
White Grout
Ended up choosing unsanded because the lines between tiles were 1/8" or less.
$13.98 - Shop
Picture
Mixer
It fit perfectly into the head of our power drill and we used a bucket to mix it.
$11.00 - Shop
Picture
Grout 'Float'
Sponge like bottom allows you to apply the muddy grout over joints.
$9.79 - Shop
Picture
Grout Sponge
Super soft sponge worked well and didn't scratch or damage the tile's surface.
$2.99​​ - Shop

2. Installing the Tiles

Spread the mortar with your notched trowel over the wall creating an even 'layer' as you go. Don't get too far ahead of yourself because it does take some time to place and cut the tiles, so don't want any mortar to go dry. 

​Without a doubt the hardest part of applying the tiles was working around outlets, shelves, and cabinets, so although it does take some time, make sure you measure and cut the tiles as accurate as you can.
Picture

3. Applying the Grout

Once everything is dried - typically takes 24hrs, remove the spacers and you're ready to apply the grout. Simply empty the grout into a bucket with the instructed amount of water, then use your Grout Mixer and power drill to stir it all together. Next, take your Grout Float and generously apply the grout over all the tiles, with a focus on getting it in the cracks and continually wiping away the excess on the surface of the tiles.

It's okay if the tiles look all messy, especially if you're using a dark colored grout. After you work your way across the tiles, where you initially started should be dried and ready to be wiped off with your Grout Float.
Picture

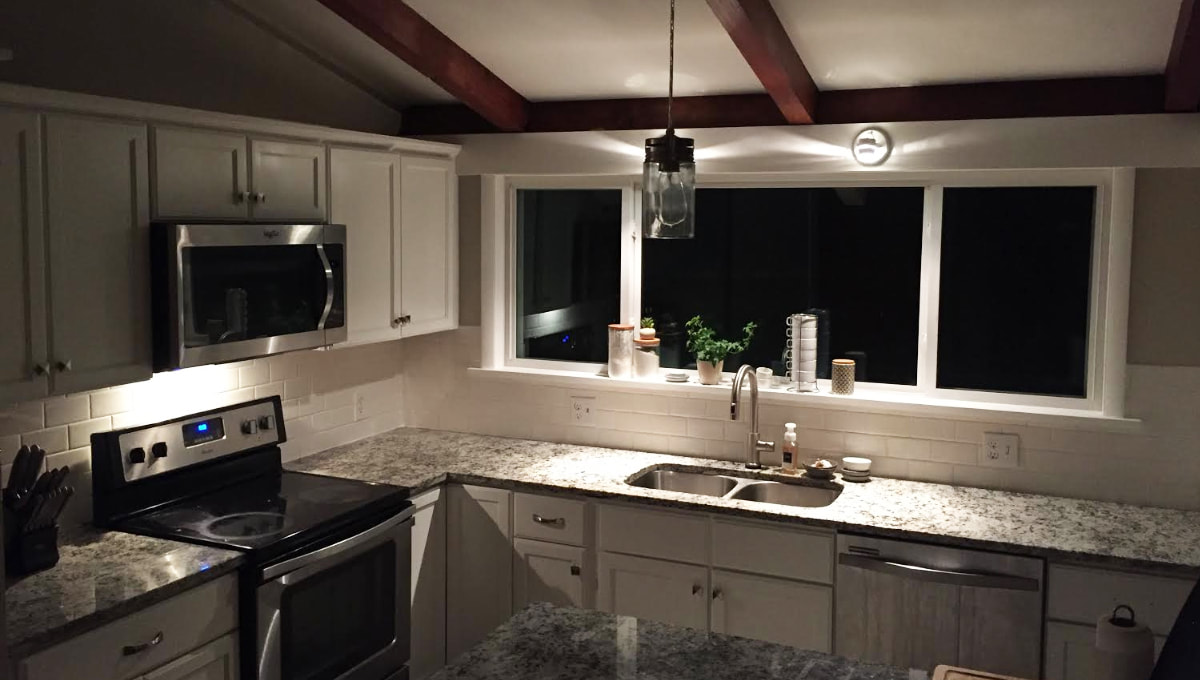
Written by: Bryant H - Guest Blogger
1 Comment

The Basics of Caulking: Preparing, Installing, and Finishing

10/27/2017

2 Comments

 
Picture
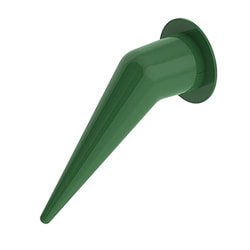
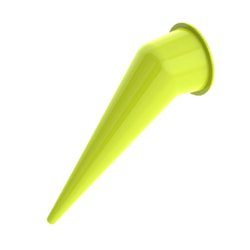
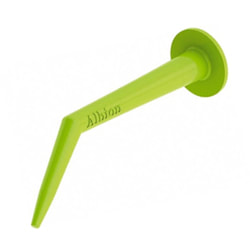
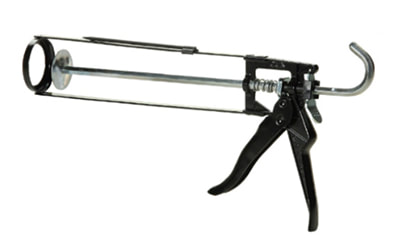
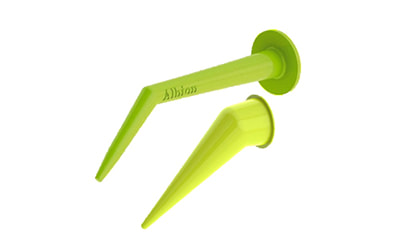
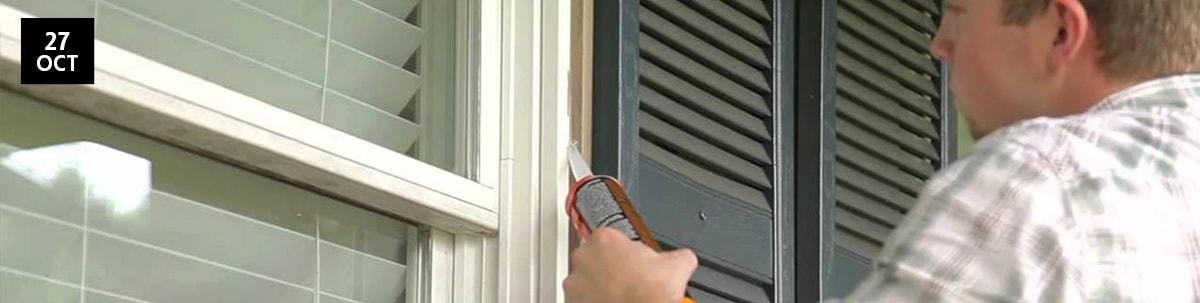
Often times people wonder what the difference is between caulk and sealant. In short, caulk has less movement capabilities and is not as well performing as sealant. There is a time and place for both caulk and sealant, but first the following steps need to be met.

Preparation

In order to properly “caulk” or “seal” an area, the first thing you need to do is prepare the joint or crack that you will be applying your sealant into. First,  ensure that there is no lose debris or dirt where you will be putting the product. If the crack or joint is dirty, use a wire brush or some form a bristle brush/broom to loosen up the dirt and debris and then blow or vacuum out the loose particles. You should double check to ensure the joint is free of moisture and frost
Lastly, you want to make sure the area you're caulking is not too deep. Recommended joint design is no more than ½” depth. In order to achieve no more than ½” depth on your joint, you may need to insert backer rod to act as a “filler”. Backer rod provides many other benefits such as preventing three-sided adhesion and use of excess product. 

Installation

As you start to gun or caulk the product into your joint, make sure you're applying enough back pressure to the material as opposed to pulling or stretching the material which can cause voids in the cured product. Don't forget to take into consideration the weather conditions, it's crucial the product stays dry long enough to skim over – generally 6-12 hours.
Picture
Dow 795 Sealant
Picture
Wexford Cartridge Gun
Picture
Various Nozzles

Finishing

After the caulk is installed in the joint, you want to “tool” the product to ensure sound adhesion of the material into the substrate. There are many ways to “tool” the product, such as using a caulking applicator tool, the tip of a spoon, or most simply your finger (not recommended by manufactures due to potential for contaminants).
​The main purpose for tooling the caulk/sealant is because you will eliminate any voids in the material that may have been caused by either the joint design or poor installation techniques as mention above. ​

Picture
ACS CONTRIBUTOR
Tom L.
2 Comments

What is Fall Protection and Why Is It So Important?

9/25/2017

0 Comments

 
Picture
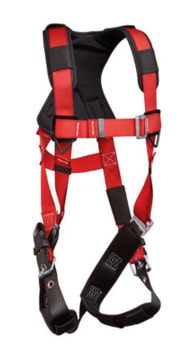
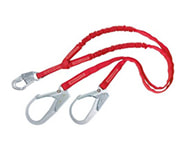
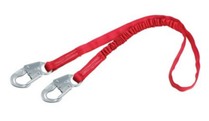
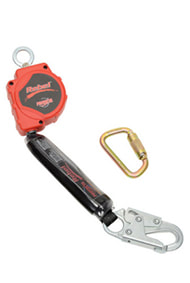
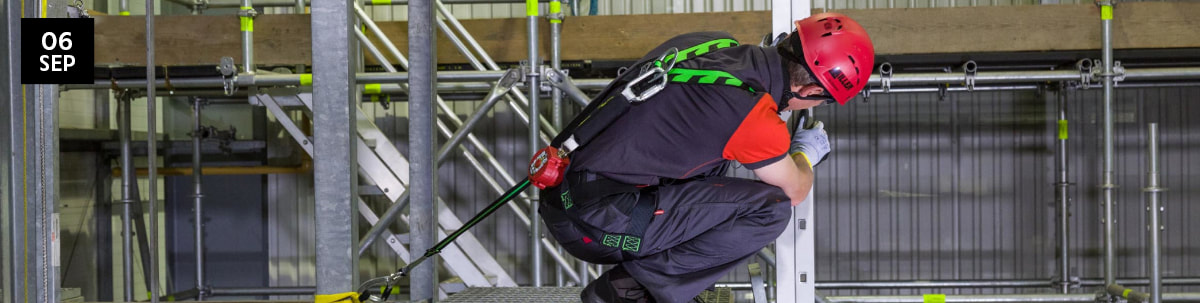
Some of the most common workplace or job site injuries, which could include death, are caused by falling from an elevated height. As an employer, its their responsibility to create a work environment that prevents any falling off of overhead platforms, high up work stations, or even into holes that are in the floor or walls - which is not just limited to people, but their tools as well. 

Workers have a right to a safe workplace, which is why OSHA was created to help create and enforce laws that do just that. Employers are required to choose and purchase personalized protective equipment at no cost to the workers themselves, and also explain and highlight the features that the equipment offers to keep them safe.

There's a wide variety of different types of fall protection and safety equipment to choose from, below are some of the main items workers use.
Picture
Vest-Style Harness
Picture
Tie-Off Shock Absorbing Lanyard
Picture
Shock Absorbing Lanyard
Picture
Self Retracting Lifeline w/Snap Hook & Carabiner
Picture
Small Parts Pouch
Picture
Safe Bucket (250lb max)

Picture
ACS CONTRIBUTOR
Alex F.
0 Comments

The 4 Most Common Questions About Trowels

7/24/2017

0 Comments

 
Picture
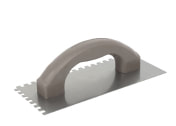
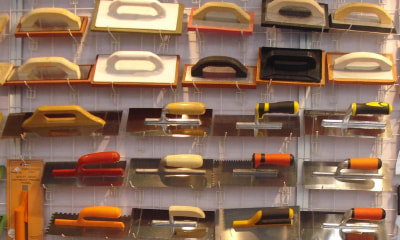
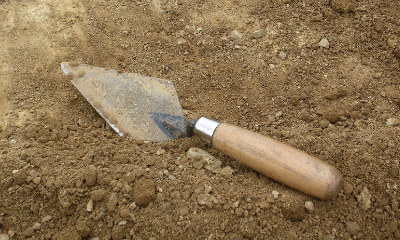
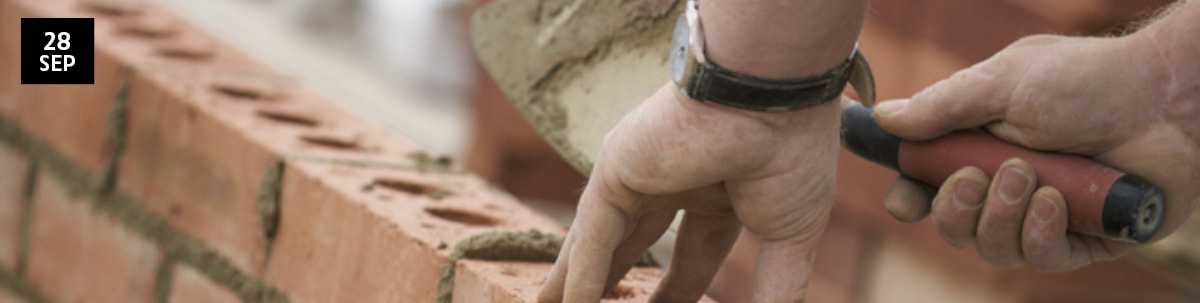
Most commonly, a trowel is a small hand tool that is used for digging, or to smooth and apply material. Trowels can be used in jobs such as masonry, concrete, dry wall construction, or even when you're attempting to apply adhesives in flooring. Consectetur adipiscing elit, sed do eiusmod tempor incididunt ut labore et dolore magna aliqua. Ut enim ad minim veniam.
Picture

What are trowels generally used for?

Lorem ipsum dolor sit amet, consectetur adipiscing elit, sed do eiusmod tempor incididunt ut labore et dolore magna aliqua. Ut enim ad minim veniam.Lorem ipsum dolor sit amet, consectetur adipiscing elit, sed do eiusmod tempor incididunt ut labore et dolore magna aliqua. Ut enim ad minim veniam.
Picture

What are the different types?

Lorem ipsum dolor sit amet, consectetur adipiscing elit, sed do eiusmod tempor incididunt ut labore et dolore magna aliqua. Ut enim ad minim veniam, quis nos. Sed do eiusmod tempor incididunt ut labore et dolore magna aliqua. Ut enim ad minim veniam.olore magna aliq
Picture

How do you best clean a trowel?

Lorem ipsum dolor sit amet, consectetur adipiscing elit, sed do eiusmod tempor incididunt ut labore et dolore magna aliqua. Ut enim ad minim veniam, quis nos. Sed do eiusmod tempor incididunt ut labore et dolore magna aliqua. Ut enim ad minim veniam.olore magna aliqolore magna aliq
Picture

How do you know when you need to replace?

Quis nostrud exercitation ullamco laboris nisi ut aliquip. Uostrud exercex ercitation ullamco laboris nisi ut aliquip. Uostrud exercexercit laboris nisi ut aliquip. Uostrud exerc itation ullamco laborem. 
Lorem ipsum dolor sit amet, consectetur adipiscing elit, sed do eiusmod tempor incididunt ut labore et dolore magna aliqua. Ut enim ad minim veniam, quis nos. Psum dolor sit amet, consectetur adipiscing elit, sed do eiusmod tempor incididunt ut labore et dolore magna aliqua. Ut enim ad minim veniam, quis nos.

Lorem ipsum dolor sit amet, consectetur adipiscing elit, sed do eiusmod tempor incididunt ut.
Picture
ACS CONTRIBUTOR
Billy Walsh

0 Comments
    Picture
    Offering quality tools and equipment at low prices for both the professional & homeowner. 

    POPULAR POSTS

    What is Fall Protection and Why is it so Important?

    Installing a Subway Tile Kitchen Backsplash

    Basics of Caulk: Preparing, Installing, and Finishing.

    VIEW ALL POSTS

    Picture

    Categories

    All
    Caulk & Sealants
    Fall Protection
    Fall Safety
    Guest Blogger
    How-To-Guide
    Kitchen Backsplash
    Trowel
    Videos

    RSS Feed

    Archives

    July 2018
    November 2017
    October 2017
    September 2017
    July 2017


Picture
Quality tools and bulk savings for both the professional worker and DIYer. Established in 1933.

ACS Store

Picture
Visit the Store
Shop by Category
Shop by Brand
Most Popular

Shopping

Picture
Savings & Deals
Most Popular
Caulk & Sealants
Contractor Program

Navigation

Picture
DIY Projects
Our Blog
About Company
Membership Registration

Support Center

Picture
Contact Us
Shipping Information
Frequent Questions
Picture
All Construction Supply | Copyright © 2023
Picture
  • By Category
    • Sealant & Caulking
    • Power Tools
    • Safety Equipment
    • Drill Bits
    • Concrete Anchors
    • Concrete & Masonry
    • Extension Cords
    • Tapes & Adhesives
    • Ladders
    • Savings & Deals
  • By Brand
    • Metabo Power Tools
    • 3M
    • Kraft Tool
    • Dow
    • Tremco
    • Albion
    • EVCO
    • Cox
  • Sale Items
  • Support